OSCP Certification: Review
My journey to earning the OSCP: How I scored 100 points in just 7 hours. This review covers my preparation, the exam environment, and crucial success tips.

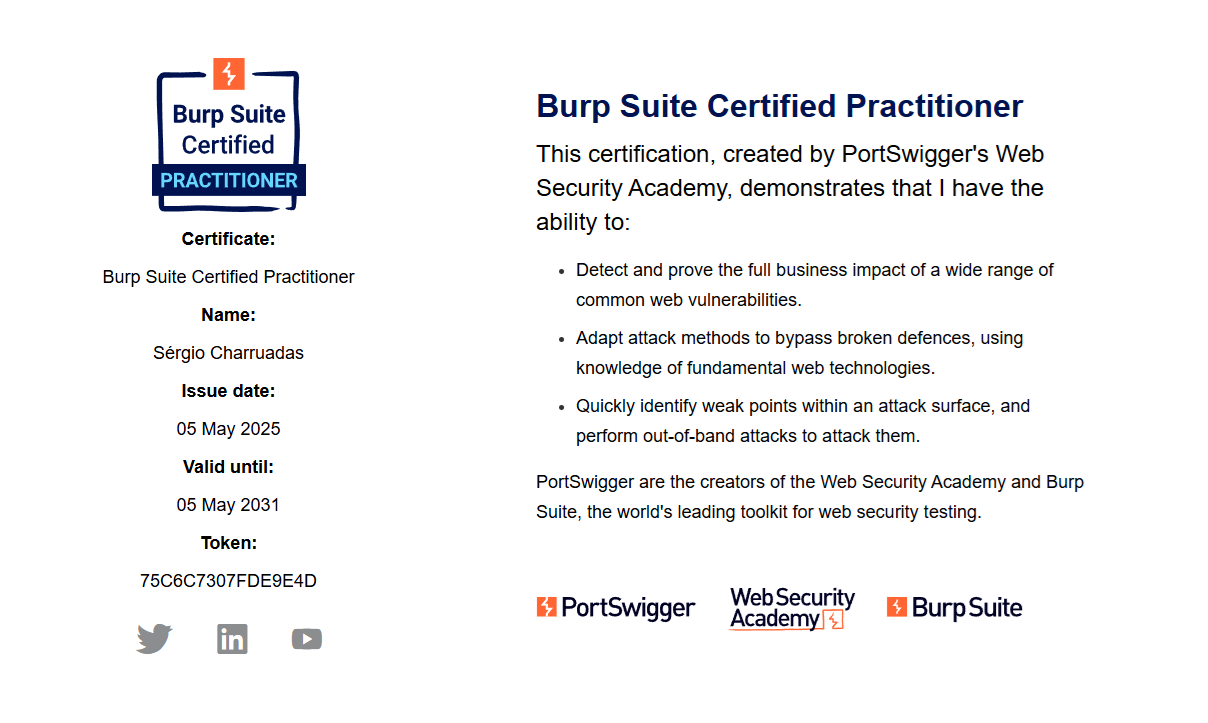
After successfully obtaining the HTB Certified Web Exploitation Specialist (CWES) certification, I set my sights on what many consider the gold standard of web application security certifications: the Burp Suite Certified Practitioner (BSCP). Having now passed both, I can confidently say that BSCP lives up to its reputation as one of the most challenging and respected certifications in our field.
If you’re reading this after my CWES Review, you’ll remember I mentioned BSCP as my next goal. Well, mission accomplished. Completed the exam in just over an hour with more than three hours to spare. But as I’ll explain later, that time doesn’t tell the whole story of what makes this exam challenging.
The BSCP certification stands apart from the crowded field of security certifications for one simple reason: it’s completely practical. There’s no multiple choice, no theoretical questions, no memorization games. You’re thrown into a live environment with two vulnerable web applications, and you either exploit them or you don’t. It’s refreshingly black and white.
What really drew me to BSCP was its industry recognition. Created by PortSwigger, the team behind Burp Suite, this certification carries serious weight in the security community. When employers see BSCP on your resume, they know you can actually do the work, not just talk about it.
Coming from CWES, I appreciated how BSCP complemented what I’d already learned. While CWES taught me to think creatively about vulnerability chains and conduct comprehensive penetration tests, BSCP sharpened my ability to rapidly identify and exploit common web vulnerabilities. Both skills are essential in real-world security work.
Key reasons I pursued BSCP:
Before diving into preparation, it’s crucial to understand what you’re up against. The BSCP exam gives you four hours to compromise two separate web applications. Each application has three distinct stages that you must complete:
Stage 1: Initial Access - Gain access to a low-privileged user account
Stage 2: Privilege Escalation - Escalate to an administrator account
Stage 3: Remote Code Execution - Read the contents of /home/carlos/secret using your admin access
You need to complete all three stages on both applications to pass. That’s six flags total, and they must be obtained in order for each application.
What makes this interesting is that each stage tests different vulnerability categories. Stage 1 focuses on authentication bypasses and initial foothold techniques. Stage 2 is all about privilege escalation vulnerabilities. Stage 3 tests your ability to achieve code execution and read files from the system.
The exam environment is straightforward: you get access to two web applications, full use of Burp Suite Professional, and four hours on the clock. No report writing, no documentation requirements. Just find the vulnerabilities, exploit them, and submit your flags and Burp Suite project.
Here’s something crucial that many people don’t realize about BSCP: you can’t just sign up and take the exam. PortSwigger requires you to complete all lab requirements from their Web Security Academy before you’re even allowed to sit for it. This isn’t a bug; it’s a feature. It forces you to put in the work and ensures you have the foundational knowledge needed.
The preparation phase is where most of your time investment happens, and it’s where the real learning occurs. I approached this systematically, working through the Web Security Academy labs with a focus on truly understanding each vulnerability category rather than just checking boxes.
Complete the PortSwigger Web Security Academy
This is non-negotiable. I worked through every single required lab, paying special attention to the Step 2 labs and reading all relevant documentation and hyperlinks. Don’t rush through these. The exam will test whether you actually understood the material, not whether you completed it.
Areas I focused heavily on during lab work:
Practice Mystery Labs Extensively
One practice method that proved invaluable was completing mystery labs. These labs don’t tell you what vulnerability you’re looking for, which perfectly mirrors the exam experience. I completed a significant number of these under timed conditions to build both speed and pattern recognition.
The more mystery labs you complete, the better you’ll perform in the exam. This isn’t just my opinion; it’s a direct correlation I observed in my preparation. Each mystery lab improves your ability to quickly identify what you’re looking at.
Build Your Reference Materials
Throughout my preparation, I relied heavily on two main resources:
botesjuan’s GitHub Repo - Contains comprehensive payloads and exploitation techniques organized by vulnerability type. This repository became an invaluable quick reference during the exam.
BSCP Guide - Outlines which vulnerability categories appear in each stage. This is critical information that prevents you from wasting time testing for vulnerabilities that won’t be present.
I also created my own cheat sheets for quick payload reference. When you’re under time pressure, you don’t want to be searching for basic syntax.
Understand the Exam Format
Before sitting for the exam, I read multiple exam reviews to understand the dynamics. Knowing things like which specific ports are relevant for different vulnerability types can save precious time. This isn’t cheating; it’s smart preparation. Understanding the structure lets you focus on what matters: finding and exploiting vulnerabilities.
Master Burp Suite
Since this is a Burp Suite certification, knowing your tool inside and out is essential. I made sure I was comfortable with:
One crucial setup tip: before starting your enumeration, add both applications to your Burp scope and filter your proxy history to only show in-scope items. This eliminates noise from Burp’s own traffic. Also, make sure you’re NOT filtering out JavaScript files or images in your proxy history. JavaScript files can contain DOM XSS sinks, and image requests might reveal file inclusion vulnerabilities through parameters.
Let me walk you through how my exam day unfolded:
Application 1:
Application 2:
Total exam time: 1 hour and 3 minutes
Remaining time: 3 hours and 7 minutes
After submitting all flags, I uploaded my Burp project file and waited for the passing confirmation email.
Looking at that timeline, you might think the exam was easy. It wasn’t. Let me be honest about what those numbers don’t show.
The exam tests your ability to stay methodical under pressure. While I moved through the stages relatively quickly, there were moments where I had to force myself to slow down and approach things systematically. The temptation to start randomly throwing payloads at the application is real, especially when the clock is ticking.
What saved me was pattern recognition from all those mystery labs. When I saw certain features or behaviors in the applications, my brain already had a shortlist of likely vulnerabilities to test. This wasn’t luck; it was the result of thorough preparation.
One thing that surprised me was how straightforward exploitation became once I identified the vulnerability. The hard part of this exam isn’t exploiting vulnerabilities; it’s finding them in the first place. Once you know what you’re dealing with, the actual exploitation is often trivial. Sometimes it’s literally copying a payload from the botesjuan repo and adapting it slightly.
Understanding what each stage tests for can significantly improve your efficiency during the exam. Here’s what I observed:
Stage 1: Initial Access
This stage is all about gaining that first foothold through authentication-related vulnerabilities. The key is understanding how to hijack or create user sessions. Common vulnerability categories include:
My approach was always to start with passive reconnaissance. Map the application thoroughly, identify all input points, and understand the authentication flow before firing off payloads. Sometimes the vulnerability isn’t on the login page itself but in a related feature.
Stage 2: Privilege Escalation
Once you have user-level access, Stage 2 requires escalating to administrator privileges. This is where access control vulnerabilities shine:
The exam tells you which vulnerability category you need to exploit, so you’re not hunting blindly. Your job is identifying where it exists and how to leverage it.
Stage 3: Remote Code Execution
With admin access secured, Stage 3 requires reading /home/carlos/secret from the file system. This typically involves server-side vulnerabilities:
This stage separates those who understand exploitation from those who just recognize vulnerability names. You need to chain your admin privileges with a server-side vulnerability to actually read files from the system.
After completing both CWES and BSCP, here’s what I learned works:
1. Use Burp Scanner Strategically
This was a game-changer for me. Many people underutilize Burp Pro’s scanning capabilities:
When you have multiple parameters and aren’t sure which is vulnerable, right-click the request and select “Active scan selected messages”. Let Burp test every parameter while you continue manual enumeration elsewhere. This is a massive time saver.
When you’ve identified a suspicious parameter but don’t know the vulnerability type, highlight that specific parameter, right-click, and use “Scan selected insertion points”. This focuses Burp’s scanner on that parameter and tests it against all vulnerability types.
2. Pattern Recognition Is Everything
After completing enough labs, you start recognizing patterns. Comment features often mean stored XSS. Password reset pages with tokens might have session-related vulnerabilities. File upload functionality screams for various file upload related attacks.
This pattern recognition is what saves you time during the exam. You’re not testing everything blindly; you see a feature and your brain already knows the likely vulnerabilities to check.
3. Don’t Waste Time on Dead Ends
The BSCP Guide exists for a reason. If you know Stage 1 doesn’t typically include SQL injection, don’t spend 30 minutes trying to find SQLi on the login page. Test for the vulnerability categories that actually appear in that stage.
4. Systematic Enumeration Beats Random Testing
When in doubt, slow down and be methodical. Identify all endpoints, all parameters, all user inputs. Sometimes the vulnerability is in a feature you almost overlooked.
5. Keep Your Resources Accessible
Have the botesjuan’s GitHub Repo and BSCP Guide open during your exam. These aren’t crutches; they’re tools. In real-world penetration testing, you’d have reference materials available. Use them intelligently.
6. Read the Exam Instructions Carefully
The exam page provides hints about which vulnerability categories are in play. Pay attention to these details. They’re there to help guide your testing, not trick you.
TLDR:
Based on my experience and understanding of the exam, here are mistakes you need to avoid:
1. Insufficient Mystery Lab Practice
The biggest mistake I see people make is not completing enough mystery labs. If you only do the required labs where you know what vulnerability to look for, you’re not preparing for the actual exam experience. The exam doesn’t tell you what’s vulnerable; that’s your job to figure out.
2. Filtering Out Important Traffic
Don’t filter out JavaScript files or images in your Burp proxy history. JavaScript files can contain DOM XSS vulnerabilities, and image requests might reveal file inclusion issues. I’ve heard of people missing vulnerabilities because they filtered these out.
3. Tunnel Vision on Single Vulnerabilities
Just because you think you’ve found the right vulnerability doesn’t mean you’re testing it correctly. If something isn’t working after reasonable attempts, step back and reassess. Maybe you’re looking at the right feature but testing the wrong vulnerability type.
4. Ignoring Burp’s Built-in Capabilities
Burp Pro has powerful features that can save you significant time. Not using Active Scanner, Collaborator, or even basic Intruder functionality is leaving tools on the table that could speed up your success.
5. Poor Time Management
Four hours seems like a lot, but it passes quickly. If you spend two hours stuck on one stage of one application, you’ve put yourself in a difficult position. Know when to move on and come back with fresh perspective.
6. Not Reading Documentation Thoroughly
During preparation, read everything in the Web Security Academy labs, including all hyperlinks. The exam might test edge cases that were only briefly mentioned in the documentation.
Having completed both certifications, I’m in a unique position to compare them. Both are excellent practical certifications, but they test different skills and approaches.
Scope and Duration:
CWES is a seven-day marathon where you’re testing multiple applications and writing a comprehensive penetration testing report. BSCP is a four-hour sprint where you need to compromise two applications with no documentation required. CWES tests your ability to conduct a full penetration test engagement; BSCP tests your ability to rapidly identify and exploit vulnerabilities.
Challenge Type:
CWES challenged me with creative thinking and chaining multiple vulnerabilities together in non-obvious ways. The vulnerabilities weren’t always straightforward, and automated tools were actively discouraged. BSCP is more direct: find the vulnerability category you’re told to look for, identify where it exists, and exploit it. The challenge is in speed and accuracy rather than creative exploitation.
Tool Philosophy:
CWES actively discourages reliance on automated tools and pushes you toward manual exploitation and deep understanding. BSCP encourages you to use all of Burp Suite’s features, including Active Scanner. You’re expected to know your tool and use it effectively.
Real-World Application:
Both certifications have excellent real-world applicability. CWES prepared me for comprehensive penetration testing engagements where creativity and thoroughness matter. BSCP sharpened my ability to quickly identify and exploit common web vulnerabilities, which is crucial for bug bounty hunting and time-constrained security assessments.
Which Should You Take First?
If you’re deciding between the two, I’d recommend starting with CWES. It provides a broader foundation in web application security and teaches you to think creatively about vulnerability chains. BSCP can then build on that foundation with its focus on rapid vulnerability identification and efficient exploitation.
That said, both certifications complement each other beautifully. CWES taught me to think like a penetration tester conducting a comprehensive assessment. BSCP taught me to think like a bug bounty hunter rapidly triaging and exploiting vulnerabilities. You need both skill sets in modern security work.
The BSCP certification absolutely lives up to its reputation. It’s challenging, it’s respected, and it genuinely improves your practical web application security skills. Unlike certifications that test memorization, BSCP tests whether you can actually do the work under time pressure.
Completing this exam in just over an hour wasn’t about being exceptionally talented. It was about thorough preparation through mystery labs, having quality reference materials accessible, and developing pattern recognition through repetition. The exam itself becomes manageable when you’ve put in the preparation work.
To anyone considering BSCP: yes, it requires significant preparation. Yes, you need to complete all those lab requirements. But it’s also one of the most rewarding certifications you can earn in web application security. The skills you develop aren’t just for passing an exam; they’re skills you’ll use throughout your career.
Now, with both CWES and BSCP under my belt, I feel well-equipped to tackle real-world web application security challenges. These certifications have given me both the breadth (from CWES) and the depth (from BSCP) needed to be effective in this field.
The journey doesn’t end here, though. Web application security is constantly evolving, and these certifications have given me the foundation to evolve with it. On to the next challenge.
My journey to earning the OSCP: How I scored 100 points in just 7 hours. This review covers my preparation, the exam environment, and crucial success tips.
A deep dive into the Hack The Box CBBH, now CWES certification. Explore my preparation strategy, exam difficulty review, and advice for aspiring web testers.
My comprehensive review of the SecOps Group CAPenX certification. I share my exam experience, study resources, and essential tips for passing on your first try.